Easy Breezy Structured Garment Tutorial
There’s a grey area between cheaply structured prom dresses and fully boned corsets. I like to structure my tops in that space to keep my costumes looking polished and smooth without requiring structured undergarments and extra layers. prom and wedding dresses typically have plastic boning in the finished seam allowance (or next to it) on the front and side seams of the lining, whereas a corset will have a coutil/canvas layer with boning beside each seam for maximum support and structure.
Why don't you just wear a corset? What’s wrong with structured undergarments?
Absolutely nothing! If you want your costume to always look structured without specific undergarments, this is the tutorial for you. Any time I’m wearing a high-collared top with a corset underneath, I feel like I’m wrapped like a Christmas ham. I don’t want to feel that way so I started doing this.
this is NOT a method of corseting and should be made to your natural measurements comfortably.
|
Pictured is a simple, princess-seamed blouse with four channels of flat steel boning in the front. If I hadn't included a structure layer, it would have wrinkled and shifted around with the layers underneath (which is a huge pet peeve of mine). the structure also adds interest and makes the silhouette more dramatic.
These channels can be applied to almost any fitted pattern that sits comfortably on or above your hips. Make sure in your mockup that you don't structure the garment in a way that will cause uncomfortable pressure or poking in sensitive areas. Again, we're not trying to cinch our waist, just keep our costumes flat and sturdy. |

|
|
As you can see on this canvas flatlining layer, I have channels next to the closure, diagonally towards the bust seam, and next to the side seams ( notice how they are above the seam allowance). This layer will go between the lining and the shell, channels FACING INWARD to prevent visible bumps on the outside.
The channels next to the closure I prefer to be flat boning, and the others spiral boning. That’s a matter of preference, however. diagonal channels provide extra support under the bust, but I don’t typically go all the way up the seam. You don't have to use steel boning, but it's fairly cheap and doesn't buckle over time like plastic. Underneath the channels I’ve used fusible interfacing to keep the fabric from stretching or warping. This part is VERY important. a lightweight interfacing is all you need. I use pellon brand, but there's many other varieties and weights that you might find preferable! The amount of channels you have depends on the shape of the garment, but I usually limit the front of the garment to four or six channels, one channel for the side is optional, and I leave the back unstructured. I also use bias tape or twill tape for channels because it’s usually in my stash as remnants. After this, I topstitch the duck canvas to the fashion fabric. |

|
After I sew the flatlining layer down, I finish the garment as I normally would. I assembled this one a bit backwards because I was trying to be careful not to stitch over the side boning channels, so I did them first. I still line the garment with a lightweight satin for comfort, but you could also use a facing if you prefer.
|
One extra precaution I take is finishing the bottom with binding instead of finishing the seams. If any unforseen stress breaks the thread, the boning will hit the binding before it slides out. Ideally I should have used cotton bias tape for this and not flimsy gold lame, but you see the idea!
|

|
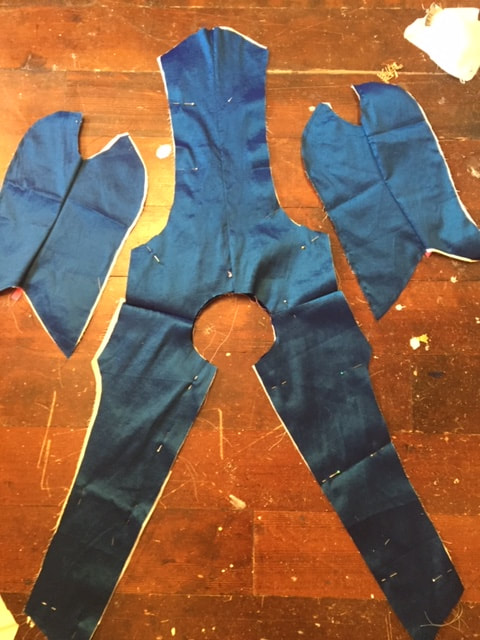
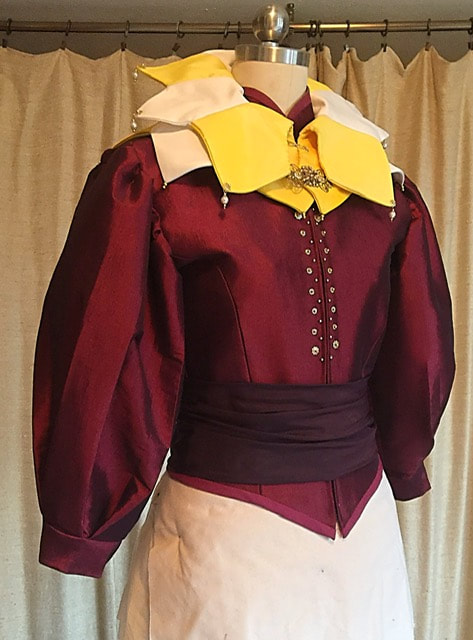
This method works with lacing, hook and eye closures, and zippers! Below are a some costume pieces with steel boning in the tops. As you can see, the possibilities are endless when it comes which style this can be used on. Adding these easy structure layers can make a costume look polished and smooth!

flat and spiral boning on twill flatlining, wool layer for bulk, and cotton stuffing to pad out chest and shoulders. it's warm.
|

boning channels sewn into facing on either side of eyelets and in side seams. made to wear in the summer, so no flatlining OR lining.
|
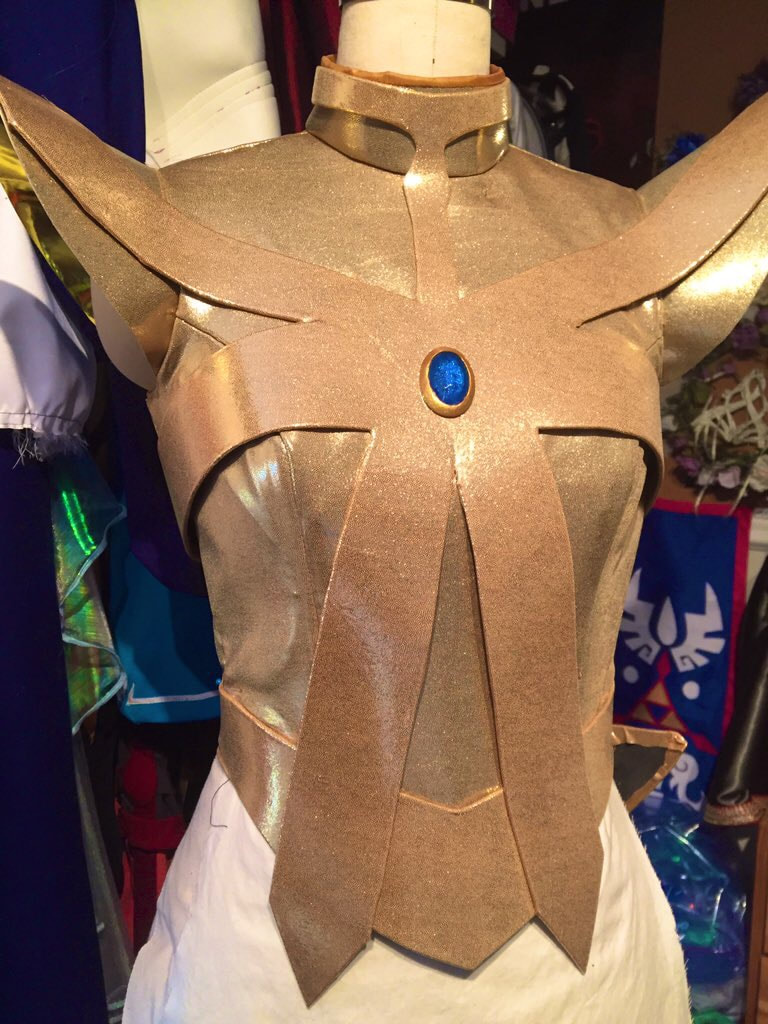
spiral steel boning on inner stretch canvas layer
|
spiral steel boning on duck canvas flatlining
|
